

Blog . 2.5D in After Effects
Blog
12/02/14 | Posted by | Posted in Digital Creativity
2.5D, or two and a half dimensions, refers to the techniques used to fake 3D with 2D assets. It can also refer to video games that use 3D characters that are restricted to 2D side scrolling movement such as Super Smash Bros, or Little Big Planet. This same type of look can be achieved within After Effects with your animations. It can be done a couple of ways, but I like creating my assets in Photoshop and then putting them together like a stage or 3D room in Photoshop. I use a camera to pan around my 2D assets in a 3D space in After Effects.
Creating your assets in Photoshop
I like to make two different Photoshop files, one for the ground plane and things that rest on that, and one for the sky plane. You can put all of your assets in one file though if you want to, this is just how I like to handle this. For this demo I created a quick desert environment. I made a dirt ground plane, a cactus, and some dry grass for the ground Photoshop file. You want to make sure each asset is on it’s own layer. This will be important for when we bring the Photoshop file into After Effects.
Setting Up Your After Effects File/ Importing
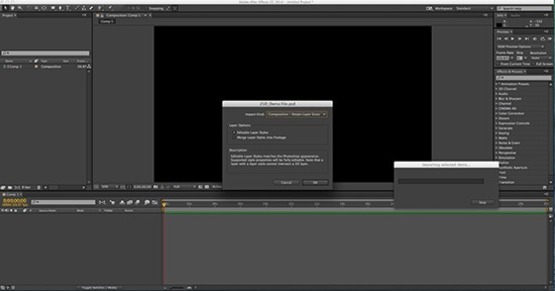
When you’re importing your Photoshop files into After Effects, you want to make sure you import them as “Compositions – Retain Layer Sizes” and choose the option “Editable Layer Styles”. That will make it so you can edit all your layers separately in After Effects. Set up your layers the way you want them in After Effects. I put my sky layer at the bottom with my cloud, then the ground assets on top. Then I duplicated the cactus, grass, and cloud.
Doing The 2.5D
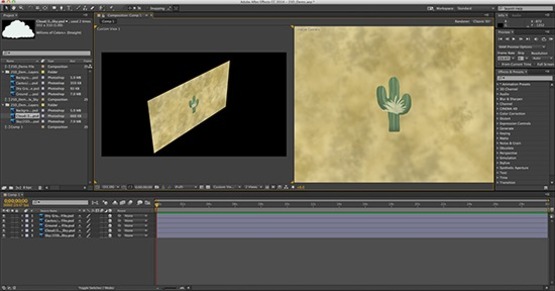
Toggle Switches/Modes at the bottom of your composition layers. You want to hit the button and make sure you see a cube next to your layers.
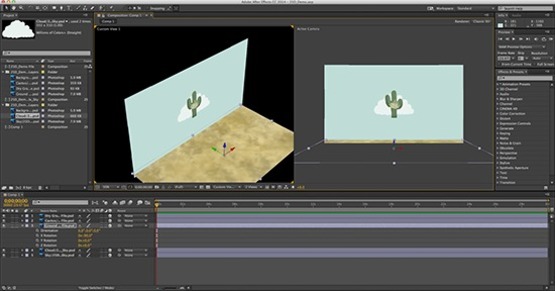
Turn it on for all of your layers, this will enable 3D for all layers and let you start working in 3D with your 2D assets. Rotate all your assets and position them on screen the way you want. To help, you might want to change the view to 2 or 4 views so you can see your composition from different angles. You have to take different angles into consideration when working in 3D. I add a Camera and animate that to look around my scene. The last thing I do before I render is I add a light. I like the point light the best, but you can choose whatever you like.
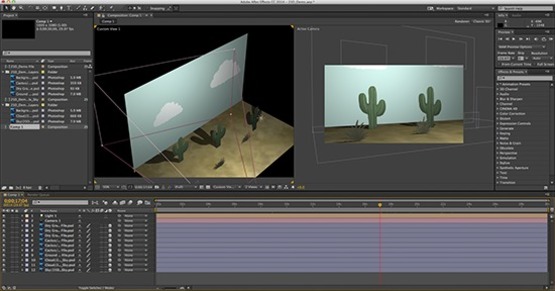
You can also get your object to cast shadows by turning on shadows for each of your layers individually. Each layer will have a material option where you can turn on “cast shadows." Render your file the same way you would any After Effects file.
-
Comments
0

- Tweet