

Blog . How to Get a Hand Drawn Look in Illustrator
Blog
How to Get a Hand Drawn Look in Illustrator
02/26/14 | Posted by Leah Yochman | Posted in Digital Creativity


I've always wanted to learn how to change the stroke and make it look like it is hand drawn in Adobe Illustrator. If you have ever felt the same, here is how you do it! Good luck and have fun!
Using the Pen Tool
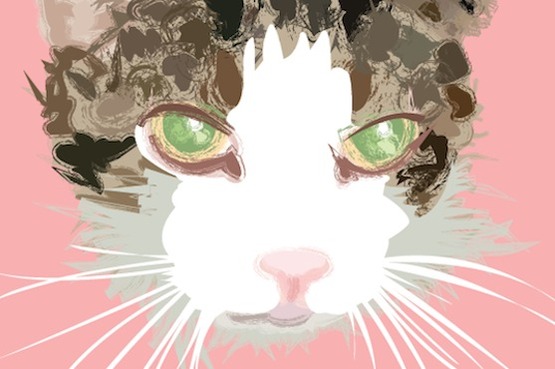
You can use a few different tools to draw in Illustrator, and today I have chosen to use the pen tool. I decided to illustrate my cat, Thomas. In case you have never used Illustrator before, here is something you need to know. When you make a curved line, three circles will appear at the end. Click the middle one to keep your line from getting distorted. This anchors the line and is very important.
Change the Style of the Stroke
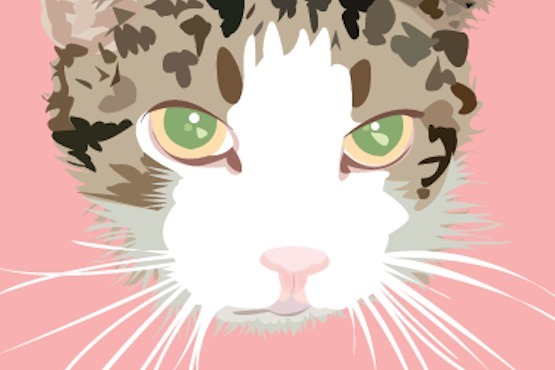
Now it is time to change the stroke of all your shapes to a style you feel best fits your piece. There is a small icon of three paintbrushes in a cup located in the toolbar to the right. A window will open right next to it that will have a few brushes in it already that you can set the stroke to. At the bottom of the window is a small icon of three books. Click on this and the library of brushes will be opened with 7 categories to choose from. I chose the first option in the Chalk Charcoal Pencil category because I liked that it not only made the stroke of my pieces textured, it expanded past them and made texture around it as well. The stroke will be set to 1 automatically and I had to change it to 0.25 because 1 made the shapes too large. Depending on the brush you use, you’ll need to change the stroke thickness until it works for you.
-
Comments
0

- Tweet