

Blog . How To Use the Curve Adjustment Layer
Blog
How To Use the Curve Adjustment Layer
11/11/13 | Posted by Leah Yochman | Posted in Digital Creativity


If you've ever taken a photo and wanted certain areas to be darker or lighter, there is an easy way to do it!
Step 1:
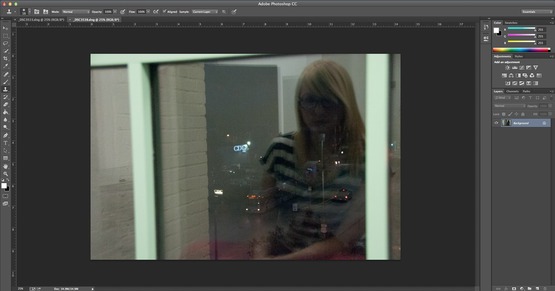
Open the photo that you would like to adjust tones for and duplicate the background layer.
Step 2:
Now that you have the original layer and the copy, select the copy layer to work on.
Step 3:
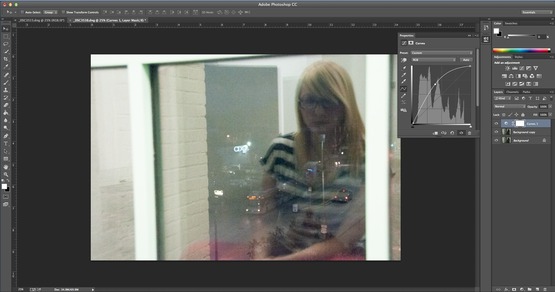
Once the copy layer has been selected, select the third icon from the top that is in the Adjustment layer box, above the layers box.
Step 4:
A small window will pop up and you have multiple options to choose from. For this tutorial I will be leaving the presets as is. In the middle of the small window is a box with a line going diagonally from the top right corner to the bottom left. You can drag anywhere on the line to effect the curves of the picture. Drag the line up to make the photo brighter and down to make the photo darker.
Step 5:
Find the part of the photo you want to be brighter and pull the line up until it’s to your liking. Now press the keys “Command” and “I” on the Keyboard to inverse the adjustment layer.
Step 6:
The adjustment layer is now inversed and looks like it is no longer in view. Go to the tool bar and select the brush tool. Make sure the color you are about to paint with is white or else it wont show up how you want it to.
Step 7:
Make the brush size appropriate for the area you are going to make brighter. Paint over that area. If it looks to be too bright and not blended, at the top of the screen are options for the brush. Change the “Opacity” to a lower level and that should make it look more blended. Experiment with what level of opacity will work well for the photo.
Step 8:
To make the photo darker drag the line down. Press the keys “Command” and “I” on the Keyboard to inverse the adjustment layer.
Step 9:
Repeat steps 6 and 7 to make the areas you want darker. Once you the darks and brights of the photo have the contrast you want you are finished!
-
Comments
0

- Tweet